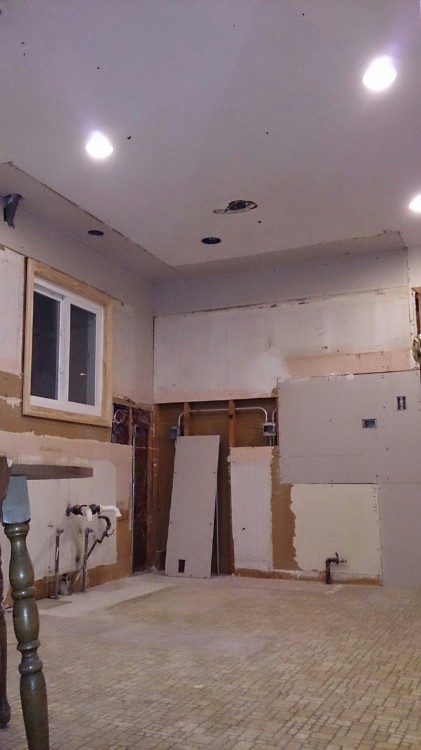
It’s been 3 weeks since the kitchen project was completed and I finally made time to select a few photos to show off the final product. 6 weeks of work, a couple unexpected delays, and a lot of eating out and leftovers (thanks Mom!) and I have a space that I hope to one day cook more than ramen and plain rice in. I invite those who like to cook or just want to hang out to come over!
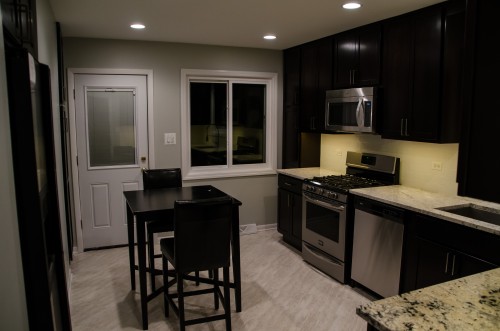
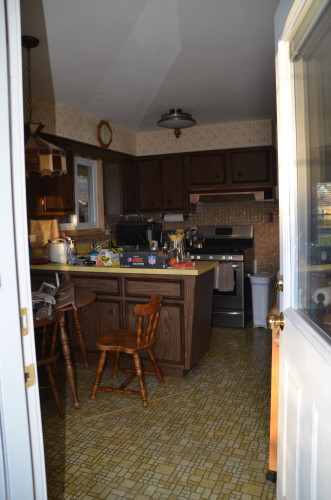
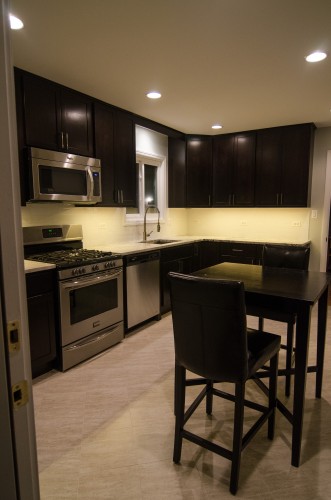
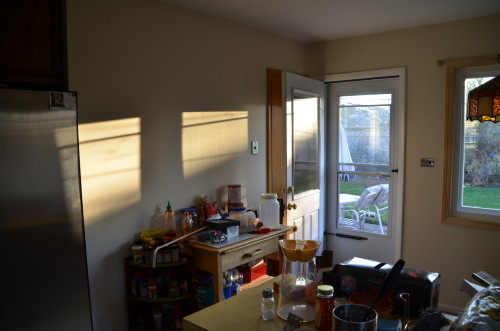
I present you with the final Myrtle Estates Makeover photos! It’s hard to believe just a couple months ago it was so dated and 60’s. Today the space is far more inviting and handles more than two people far better. The photos were taken before I put everything back on the countertops. I had to show off the granite in these pics. There is a list of items purchased, colors, etc. at the end of the post for those interested in the details.
Enjoy!
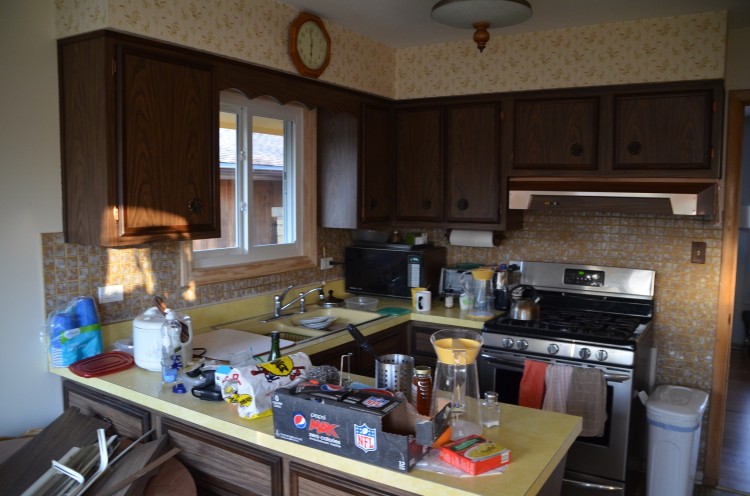
Before (view from living room):

After (view from living room):
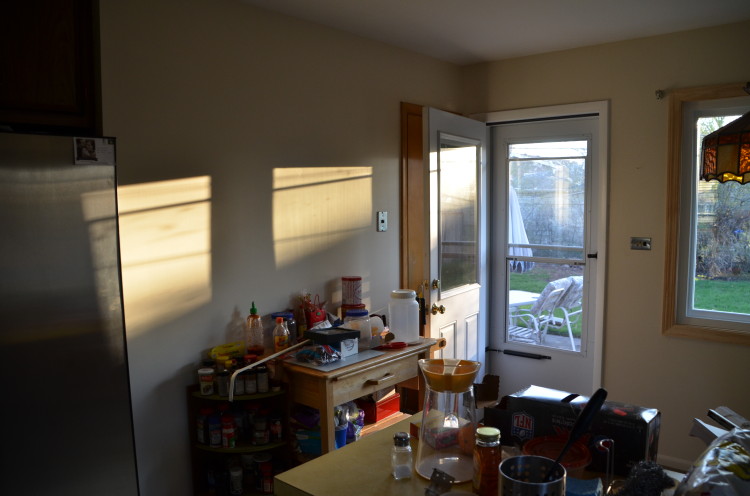
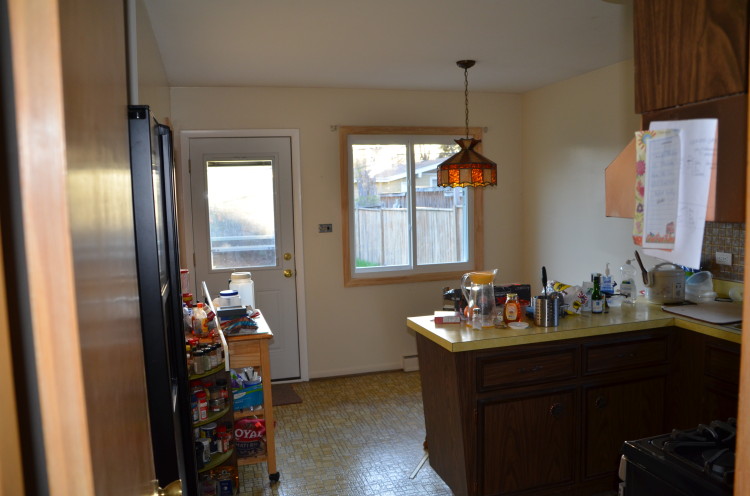
Before (view from back door):
After (view from back door):
Before: cluttered open storage
After: clean! Everything is put away and has its place (read: hidden)

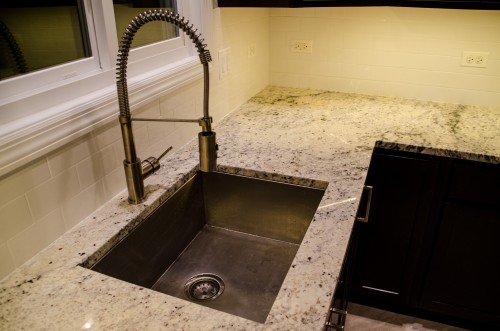
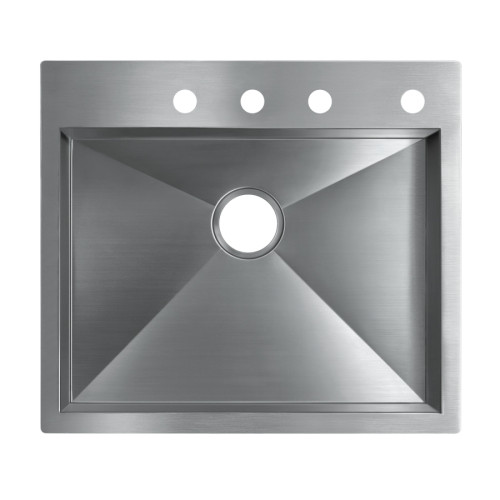
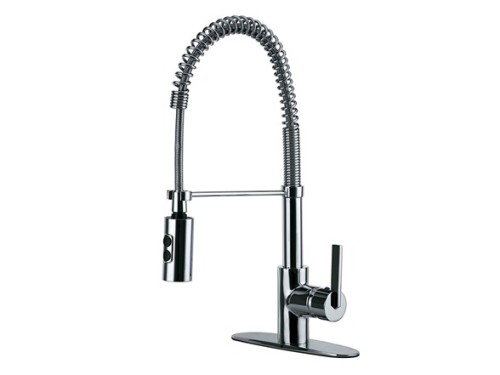
The new sink and faucet!
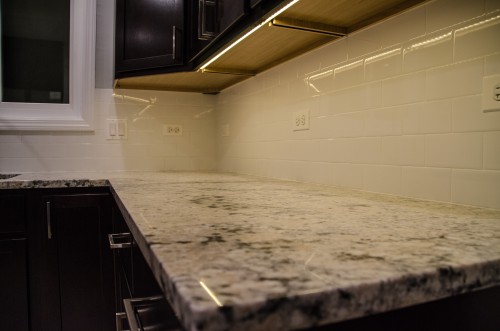
Granite, white subway tiles, and LED under cabinet lighting make a great team.
For those interested, here is a list of my sources for everything that went into this kitchen:
- Refrigerator: Frigidaire (purchased used from a friend a few years ago)
- Oven/Range: Frigidaire (purchased when I moved into the house 4 years ago)
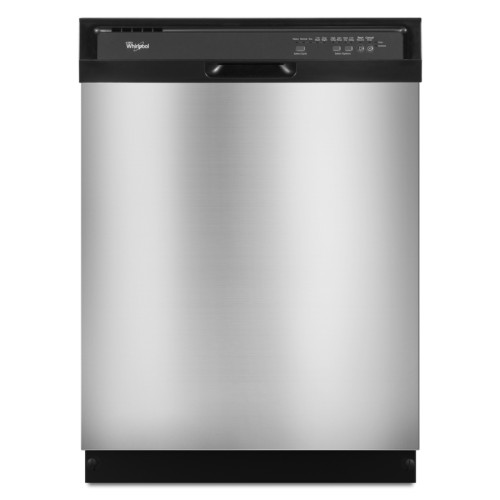
- Dishwasher: Whirlpool WDF510PAYS
- Microwave: Whirlpool WMH31017AS
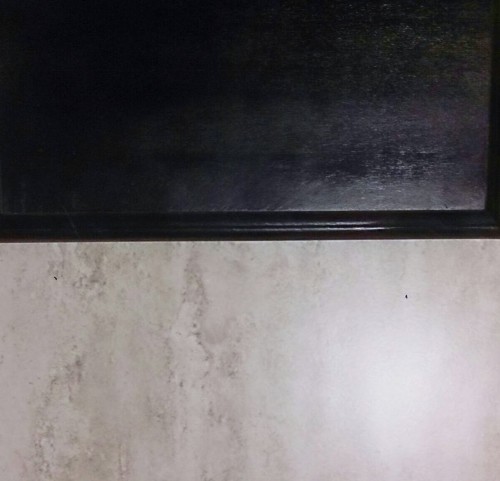
- Cabinets: Merrillat “Twilight” shaker style doors with rectangular brushed nickel hardware
- Sink: KOHLER Vault 18-gauge stainless steel sink
- Faucet: Kingston Brass pull down Faucet in Satin Nickel finish (via woot.com)
- Countertop: Bianco Romano granite
- Backsplash: glossy white subway tile with white grout – The Tile Shop
- Floor tile: Classico Ivory Matte 12×12 tiles with antique white grout – The Tile Shop
- Lighting: recessed can lights (dimmable), LED under cabinet (dimmable)
- Paint:
- Walls: Benjamin Moore Gray Owl
- Ceiling: White
- Baseboard & Window Trim: White
- Kitchen Table & Chairs: Craigslist

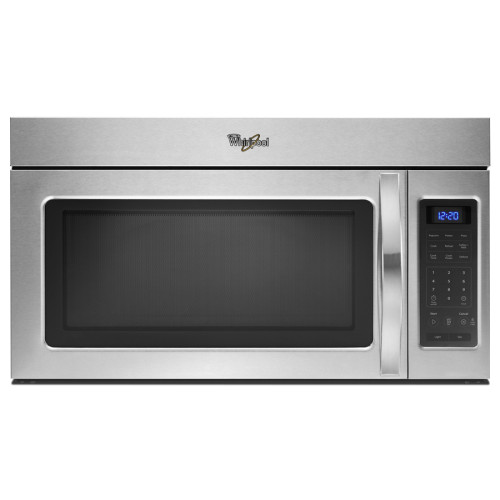 This is the microwave. Very exciting, right? At least it will be over the stove and not taking up counter space.